Christmas present ideas for your cat.
If you’re making your way through the last of your Christmas shopping, you might be considering what to get your furry friend.
If you’ve seen our 12 ‘nays’ of Christmas animation, you’ll be aware that the toys you buy will need to be safe for your cat to enjoy. To give you a helping hand, take a look at our top picks of festive gifts for your cat.
Santa’s Trouser Tunnel
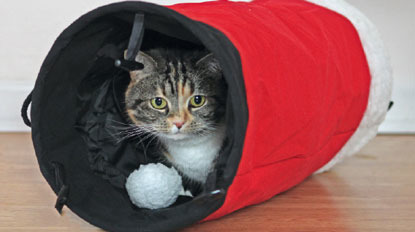
Cats love a place to hide, especially at Christmas time when your home can often be noisier and busier than usual. This novelty play tunnel is an ideal gift to keep your cat calm throughout the festive season.
Buy it here
Feathered Boa Cat Toy
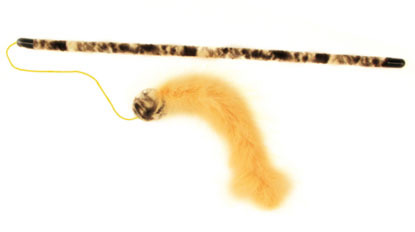
This Feathered Boa Cat Toy is a great choice to keep your cat busy. Great for chasing, toys like this simulate your cat’s natural hunting behaviour. It also provides good exercise and can help strengthen your bond with your cat.
FreakMEOWt catnip toys
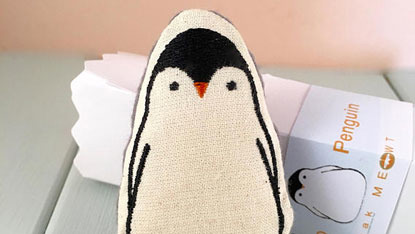
If you’re seeking a fun gift this Christmas, these FreakMEOWt catnip toys fit the bill. Lovingly handmade and stuffed with catnip, they’re guaranteed to drive your cat wild. They also come in a variety of different shapes including fish, doughnuts and even festive penguins!
Buy it here
Feline crafty?
If you’d rather have a go at making your own cat gifts this year, take a look at the handy how-to videos on our YouTube channel.
How to make homemade meaty cat food treats
While human festive treats like chocolate and Christmas pudding shouldn’t be eaten by cats, you can make your own edible gifts with our step-by-step guide.
How to make a cat bed
Got a leftover Christmas jumper from last year? Treat your cat to the ultimate gift – a homemade cat bed with a festive feel. Purrfect!
If you’re ordering from the Cats Protection shop, you’ll need to make your order before 12 noon on 19 December to receive your order by Christmas Eve.
Got a great gift idea for your cat this Christmas? Let us know by tweeting us @CatsProtection